Customer Login
If you are already registered, please log in.
Most sterndrive and outboard manufacturers advise you to change the gearcase oil in your lower unit every 100 hours or once a year (whichever comes first). Clean oil is critical for protecting the heavily loaded gears in your lower unit and preventing expensive damage. Servicing the lower unit is a simple job that you can easily do yourself.
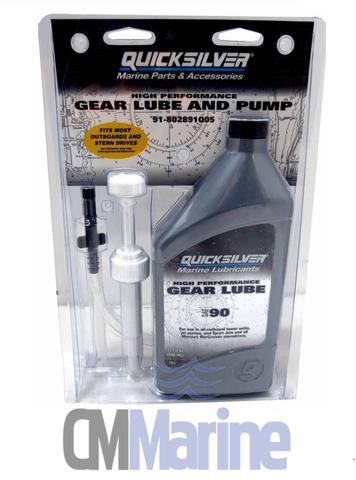
Your Owner’s Manual will recommend the manufacturer’s proprietary lower unit lube and that is always a safe choice. We can recommend Quicksilver's High Performance Gear Lube.
The lower drain/fill plug screw is usually located on the starboard side of the lower unit, beneath the “bullet-shaped” portion of the lower unit housing. Locate your drain/fill plug screw and adjust the trim/tilt of your outboard motor or sterndrive so that this plug is in the lowest position possible in order to drain the used oil thoroughly.
Use your large screwdriver to remove the lower drain plug screw. This is often easier said than done, because the steel screw in an aluminum housing can become stuck due to galvanic corrosion. If yours is stuck, try soaking the plug with penetrating oil, like WD-40, and letting it work overnight. You can also pick up a manual impact screwdriver (From Supercheap or Mitre10) which turns the plug slightly when hit with a hammer. Finally, you can try using heat from a heat gun. Be patient and persistent, but try not to strip the slot in the plug head because drilling out the plug will be a major headache.
With the drain plug screw loosened and your catch pan in place, keep pressure on the screw so it won’t fall into the pan and be covered with oil. Snatch it away as the oil begins to slowly drip out. Then remove the upper vent plug screw, usually located above the cavitation plate on the starboard side of the lower unit, and the oil will gush rapidly out of the drain hole. Give the oil plenty of time to drain completely, ideally for an hour or more.
The lower drain plug screw often has a magnetic tip. Fine metal filings stuck there are normal, but you don’t want to see ‘chunks’ of metal. Inspect the oil in the pan. Again, you may see some sparkle of metal filings in the oil, which is normal. However, milky white or creamy colored oil indicates that water has contaminated the gearcase, and gray oil indicates some kind of failure in the gears or a bearing. Consult your mechanic if your lower unit shows any of the above danger signs. These need to be fixed before the boat goes back in the water.

After the oil is completely drained, screw the oil pump adapter fitting to the lower drain hole, connect the Quart Pump which you’ve placed onto your quart of gear oil, and fill the lower unit. Keep pumping until the oil runs out the upper vent plug hole.
We recommend installing new O-rings/sealing washers on your drain and vent plug screws and coating them with a little non-metallic, marine-grade anti-seize compound to make them easier to remove in the future. Clean all the metal flakes from the tip of both plug screws, and replace the upper vent plug screw in the lower unit. Next, you’ll remove the oil pump adapter fitting from the lower drain hole, with the lower drain screw in your hand and ready. Quickly replace the screw so only a little oil runs out.
Now you can thoroughly wipe the exterior of your lower unit to keep the oil out of the environment. Then bottle up the used oil and take it to the local recycling center.
If you are already registered, please log in.